How to Make a Cut List: Step-by-Step Guide for Woodworkers
Quick answer
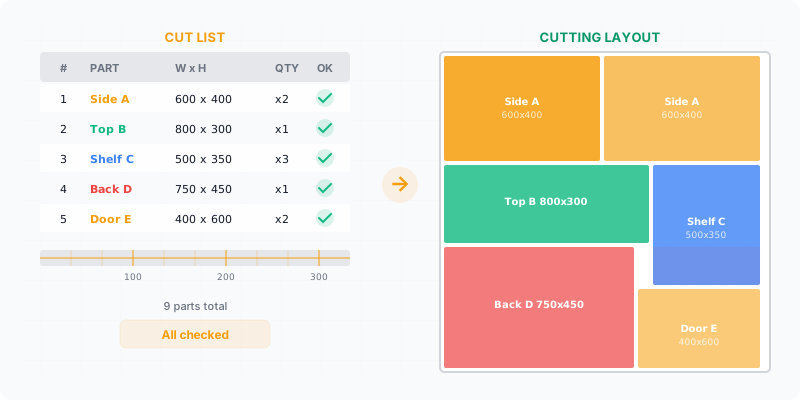
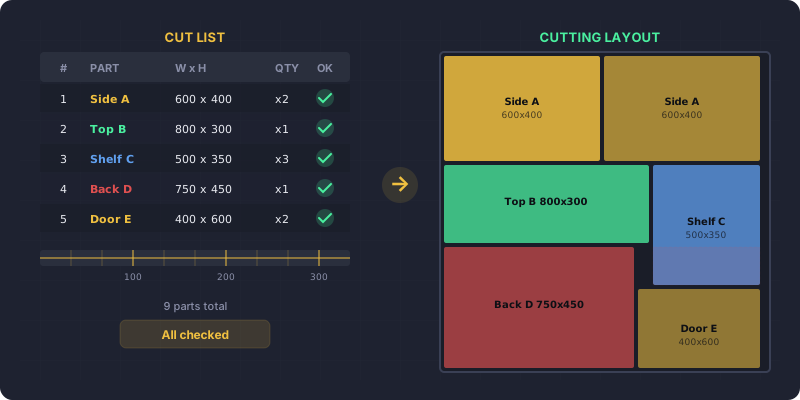
To make a cut list, write down every part your project needs with its quantity, length, width, thickness, material, and grain direction. Account for saw-blade kerf, group parts by material, then run the list through an optimizer to turn it into a printable cutting layout that tells you how many sheets to buy.
Following woodworking fundamentals, a cut list is the difference between a smooth build and expensive mistakes. It’s the single document that tells you exactly what to cut, how many, and from what material. Skip it or get it wrong, and you’ll end up short on parts, over on budget, and standing in the lumber aisle for a second trip. Whether you’re building a bookshelf or a full kitchen, a proper cut list is where every project should start.
What you’ll learn in this guide:
- Every field your cut list needs to be useful
- A five-step process from project plans to optimized layout
- The most common cut list mistakes and how to avoid each one
- A ready-to-use template you can adapt for your own projects
What Goes Into a Cut List?
A cut list is a table. Each row is one type of part. Each column captures a dimension or property you’ll need at the saw. Here’s what every cut list should track:
- Part name — A label you’ll recognize at the saw (“Left side panel”, not “Part 7”)
- Quantity — How many identical pieces you need
- Length — The finished dimension along the longest side, in mm or inches
- Width — The finished dimension along the shorter side
- Thickness — The stock thickness (18 mm, 3/4”, etc.)
- Material — Plywood, MDF, melamine, hardwood species
- Grain direction — Whether the grain must run along the length, width, or doesn’t matter
Miss any of these and you’ll make decisions at the saw that should have been made at the desk.
List every part from your plans
Go through your project drawings or SketchUp model and write down every distinct part. Don’t combine parts that look similar — if a shelf is 2 mm narrower than a side panel, list them separately. Include backs, dividers, drawer bottoms, and face frames. It’s easier to remove a line later than to remember a forgotten part mid-cut.
Record finished dimensions
For each part, write down the finished length and width. These are the dimensions of the part after cutting — not including kerf or sanding allowance. Measure from your plans, not from memory. If you’re working from a furniture design book or online plan, double-check that the measurements match your actual stock thickness.
Add material type and thickness
Group your parts by material. All the 18 mm melamine parts go together. All the 12 mm plywood parts go together. This grouping directly affects your cutting layout — you can only cut parts of the same thickness from the same sheet. Note the material in a dedicated column so you don’t accidentally mix stock types.
Mark grain direction
For veneered plywood, melamine with a wood pattern, or solid wood, grain direction matters. Mark each part with “L” (grain runs along the length), “W” (grain runs along the width), or “N/A” (no grain constraint). Getting this wrong means a visible side panel with the grain running the wrong way — a mistake you’ll see every day.
Enter your cut list into CutOptim
With your complete list, open CutOptim and enter each part: name, quantity, length, width, and grain direction. Set your stock sheet size (2800×2070 mm for standard European panels, or 1220×2440 mm / 4×8 ft for North American sheets). Set kerf to match your blade — typically 3–4 mm. Hit optimize, and you’ll get a printable cutting diagram in seconds.
Common Cut List Mistakes
Even experienced builders make these errors. Catching them before you cut saves material, money, and frustration.
1. Forgetting the kerf. Your saw blade removes 3–4 mm of material with every cut. If you lay out parts edge-to-edge on paper without accounting for kerf, your last part on each sheet will come up short. Optimization software handles this automatically — but if you’re doing manual layout, add the kerf width between every adjacent part.
2. Ignoring grain direction. A cabinet door with horizontal grain next to one with vertical grain looks like a mistake, because it is one. Always note grain direction in your cut list, and make sure your layout respects it. Parts marked as grain-sensitive cannot be rotated freely.
3. Quantity errors. “I need 2 shelves” — but the cabinet has 3 compartments. Double-count from your plans. Symmetric furniture is the worst offender: left and right sides, top and bottom, front and back. Walk through the assembly mentally and count each piece.
4. Estimating waste instead of calculating it. “I’ll probably need 4 sheets” is not a plan. Without a proper layout, you’re guessing — and guesses tend to be wrong in the expensive direction. Run the optimizer before you buy material.
5. Not accounting for edgebanding. If you’re applying 0.5 mm or 2 mm edgebanding to visible edges, your raw part needs to be slightly smaller than the finished dimension. A 600 mm wide panel with 2 mm edgebanding on both sides should be cut at 596 mm. Note which edges get banding in your cut list.
parts in a typical kitchen cabinet project — and each one needs exact dimensions
Watch your kerf setting. A standard table saw blade has a kerf of about 3 mm. A CNC router bit might be 6 mm or more. Always check what tool you’ll use for cutting and set the kerf accordingly — otherwise your optimized layout won’t match reality.
Cut List Template
Here’s what a finished cut list looks like for a simple bookshelf project. Use this as a starting point and adapt the columns to your needs.
| Part Name | Qty | Length (mm) | Width (mm) | Material | Grain |
|---|---|---|---|---|---|
| Side panel | 2 | 1800 | 300 | 18mm plywood | Length |
| Top/bottom | 2 | 764 | 300 | 18mm plywood | Length |
| Shelf | 3 | 764 | 280 | 18mm plywood | N/A |
| Back panel | 1 | 1800 | 800 | 6mm plywood | N/A |
| Face trim | 2 | 1800 | 40 | Solid oak | Length |
Notice how the shelves are 280 mm wide instead of 300 mm — they sit behind the face trim. Details like this are exactly why you build the cut list at the desk, not at the saw.
From Cut List to Optimized Layout
A finished cut list is half the job. The other half is turning that list into an actual cutting plan — a material takeoff that decides which parts go on which sheet and where. Doing this by hand with more than 10–15 parts gets tedious and error-prone fast.
This is where a cut list optimizer earns its keep. You paste in your cut list, specify your sheet size and kerf, and the algorithm arranges every part for minimum waste. It handles grain constraints, tests rotations where allowed, and shows you exactly how many sheets to buy. The output is a visual diagram you can print and take to the saw, or export directly to a CNC machine.
The gap between a good cut list and a bad one is usually 1–3 extra sheets of material per project. On a $60 sheet of birch plywood, that adds up to real money — especially if you’re building for clients.
Pro tip: Keep a master cut list template saved with your common materials and stock sizes pre-filled. For each new project, duplicate the template and just update the parts. It saves 5–10 minutes of setup every time.
How Do You Check a Cut List Before You Send It?
With a five-minute pass that looks for the errors a cut list cannot show you on its own.
A finished list always looks finished. Every row has numbers in it, the columns line up, and nothing on screen distinguishes a part that is 40 mm wrong from one that is right. That is the whole difficulty: the errors that matter are not malformed, they are plausible. A cut list has no equivalent of a spelling mistake.
It is also why checking is a separate pass rather than something you do while writing. When you are building the list you are thinking about the furniture — this shelf sits here, that side runs to the floor — and in that frame of mind a wrong number reads as the number you meant. Coming back to the list cold, and reading it as rows rather than as a piece of furniture, is what makes the mistakes visible. Ten minutes between the two helps more than any amount of care during the first pass.
The check below is worth running every time, because each step catches a class of error that survives casual reading.
Check the near-square parts twice
A part written 600 × 560 looks identical to one written 560 × 600, and on a board with visible grain those are different pieces. Scan the list for anything where the two numbers are close, and confirm each one against the drawing.
Confirm the material on every row, not just at the top
The moment a project has a second thickness, only per-row material keeps them apart. A back panel that inherits the carcass thickness because nobody wrote it down is a whole extra board.
Make sure the largest part fits the stock at all
It is the fastest check on the list and the one people skip. If the longest part is longer than the board, no amount of optimization will help, and you would rather find that out now than after ordering.
Count quantities against the drawing, not against memory
Shelves and sides are the usual casualties: four shelves become three because one of them was counted while looking at a different compartment. Count from the drawing, then count again from the list, and see whether the two agree.
Total the area and compare it to what you plan to buy
Add up the part areas and hold that number against the sheets you intend to order. It will not match exactly — offcuts and kerf see to that — but if the list wants more material than you are buying, you have found a real problem before the saw did.
None of these need software. They need the list to exist in a form you can read line by line, which is the argument for writing one at all rather than working from a drawing and a tape measure.
When a check does fail, resist the urge to patch the row in front of you. A wrong shelf length usually means the carcass width it was derived from is also wrong, and so is every other part that came off the same number. Go back to the dimension the part was calculated from, fix it there, and re-derive everything that depends on it. Fixing the symptom leaves the next part in the same family waiting to fail at the saw instead of on the page — and that is the difference between a five-minute correction and a wasted board.
The same logic argues for deriving the list rather than typing it. If the shelf length is a formula that reads from the carcass width, correcting the width corrects the shelves for free, and the check you just ran cannot go stale the moment you change your mind about a dimension.
Turn your cut list into an optimized layout
Paste your parts, set your sheet size, and get a cutting diagram in seconds
Open the free optimizer